Sunday, September 27, 2026

Making a Mandolin Rosette

I’ve just started building my next mandolin. In this video, I look at making its rosette in quite some detail. Hope that you find it interesting.

Cheers Gary


Labels: , ,

Saturday, August 15, 2026

Happiness is………

Had a great day! John and his wife (a delightful couple) came over to pick up his new Nava mandolin.

So, for me, happiness is seeing the delight that a client has with their new mandolin and also, hearing it played properly!

And for John, well he is clearly very happy with his new mandolin. I’ve never bothered with customer endorsements but have a read of his wonderful comment on the last YouTube video.

Thank you John!

Labels: , , ,

Sunday, May 03, 2026

New Model Mandolin: 4

The body of the mandolin is now together, so what’s next? In this video, I look at routing the rebate for the purflings and bindings. The purflings take quite a while to fit as there are tricky mitres to cut and the bindings (made from walnut) need to be bent on the bending iron to fit exactly. All good fun! Oh, and a bit about the fretboard too!

Cheers Gary


Labels: , ,

Saturday, April 04, 2026

New Model Mandolin: 3

Here’s Part 3 of my New Model Mandolin build series. In this one, I look at joining the Adirondack soundboard and making and fitting the rosette. There’s also a bit more on the neck and last but certainly not least, the back gets braced and fitted and you’ll see how the radius dish (seen in part 1) continues to help the process.

Cheers Gary


Labels: ,

Monday, March 23, 2026

New Model Mandolin: 2

 I would have bent my first set of sides during my first year at the London College of Furniture (1976/77) and I’ve bent a fair few bits of wood since. It never ceases to amaze me what you can do with a drop of moisture and a bending iron. I wasn’t 100% sure about the extreme bending that this new shape would need but as you’ll see (spoiler alert) it all went well. So, in part two, I make the rim of the mandolin: bend the sides, fit various blocks, linings etc and use my radius dish for fitting the back. Also, I get the neck blank made too! Quite a lot to take in, so get yourself a cup of tea.

Cheers Gary


Labels: , ,

Sunday, March 15, 2026

New Model Mandolin: 1

No sooner one mandolin is complete than another comes along!

So, after a very long gestation period, my New Model Mandolin is finally being realised. In this first episode of a new build series of videos, I look at its overall shape and go into detail about the making of the external mould. The mould is used for accurate construction of the mandolin’s rim.


Labels: ,

Saturday, April 12, 2025

Standard XX

Tuesday, January 23, 2024

Good start to the year’s work.

With most of the construction on the e-mando now complete, it’s time to concentrate on the tailpiece and bridge and getting the mandolin set-up. And that’s exactly what I look at in this video!

And just in case you’ve been wondering……..here’s the latest Standard. It’s rosewood body has been fully bound in cocobolo and the next step is fit the neck.


Labels:

Tuesday, December 19, 2023

Chambered Body E-mando: part 5

Here’s the latest e-mando video. In this one, I demonstrate how I shape/carve a neck. Although I’m working on an electric mandolin which has a relatively short neck, the process is the same for any of my instruments.

Also below are some choice photos.


Labels: , , ,

Thursday, March 02, 2023

Standard Mandolin XV: now complete and available

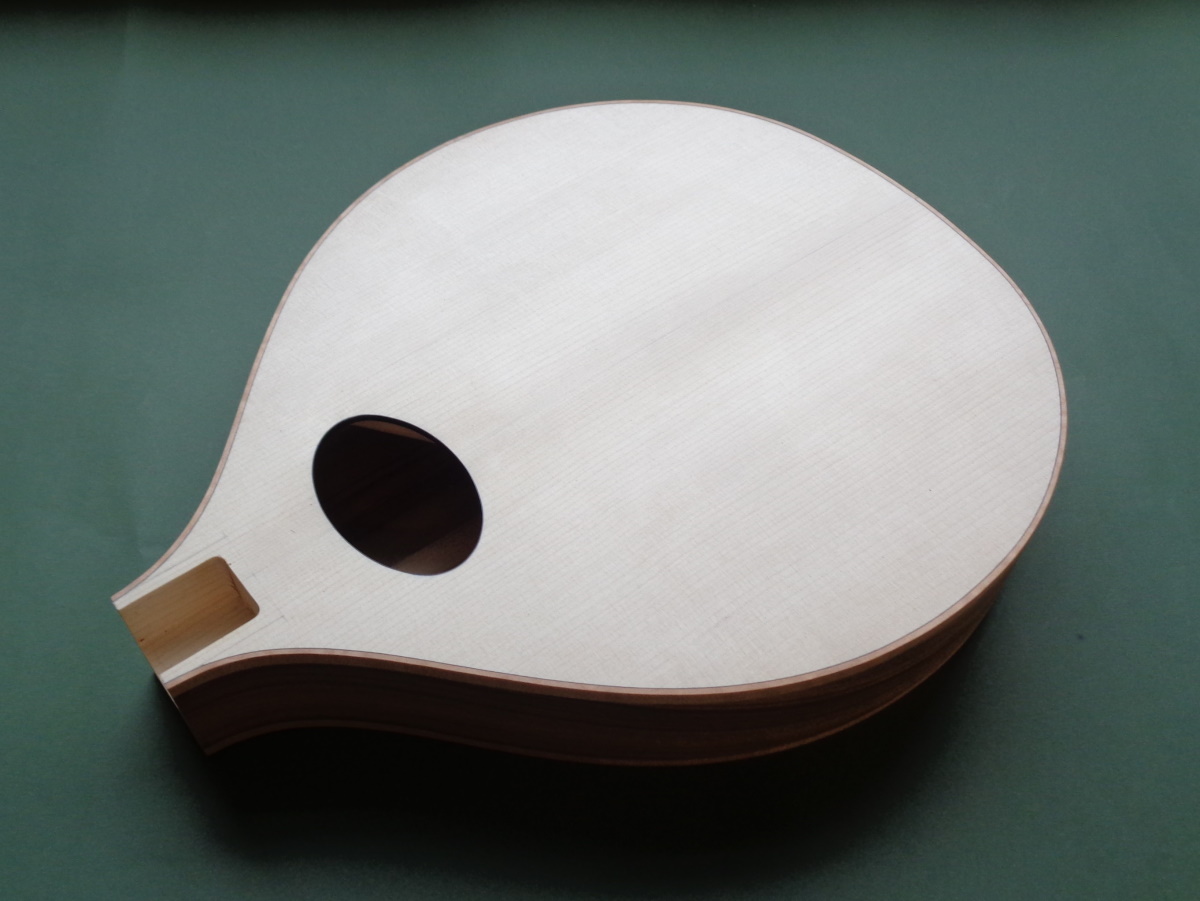
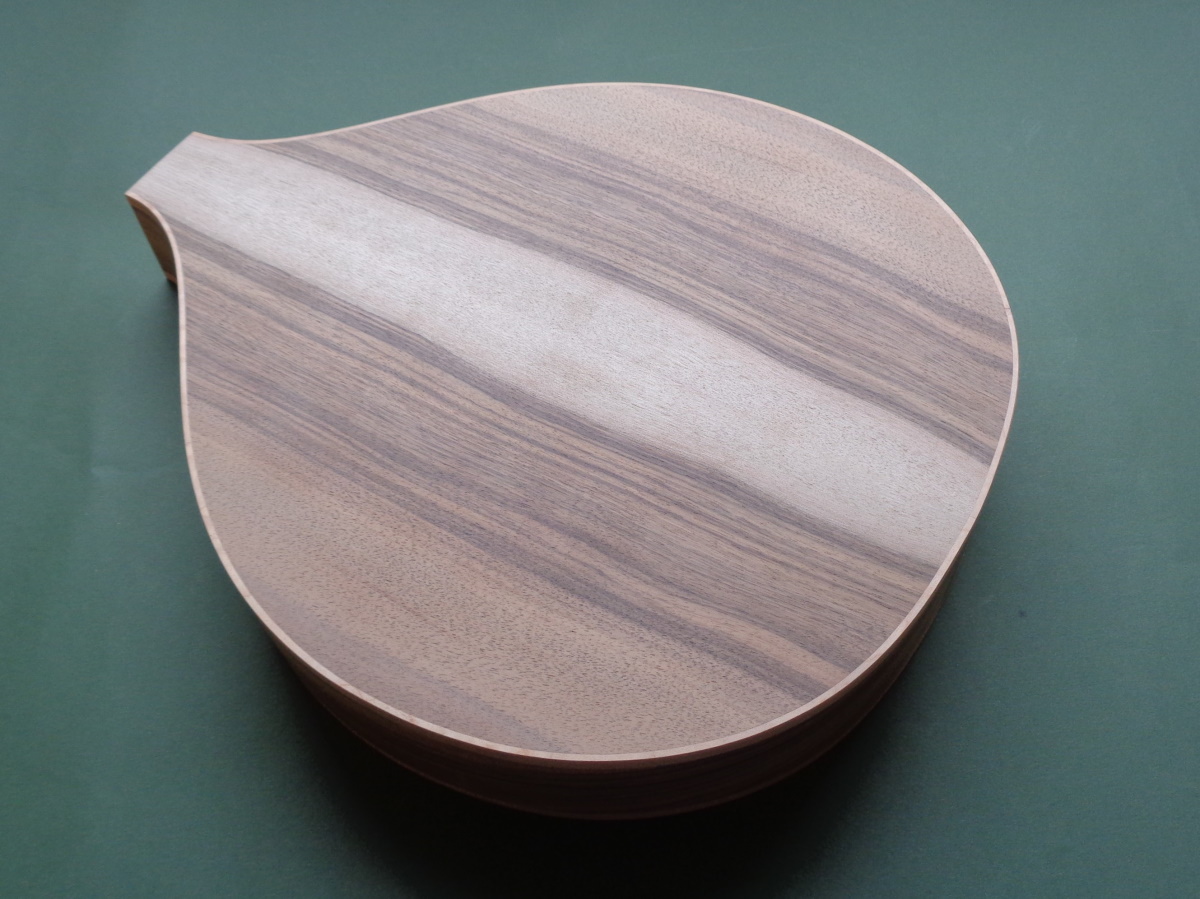
The latest Standard mandolin is now complete and is available. Below are some photos for you. If you remember, my intention was for this instrument to be a celebration of walnut and I think the beauty of this wood is shown off nicely in this mandolin. Also, its sounds so good too! There will be a video soon.


The current price of my Standards is £925, which includes a Hiscox case: shipping is extra. If you’re interested in this one, please feel free to contact me via my website.

Labels: , ,

Friday, January 27, 2023

Standard Mandolin XV Update 2

You can see in the photos below, that the mandolin is now together. The views of its back really highlight my celebration of walnut that I mentioned in the video.


Next stage is to attach the hardware, make the bridge and get it playing!

Labels: ,

Monday, January 23, 2023

Standard Mandolin XV Update

Here’s a few photos for you, now that the mandolin’s body is fully bound. By using maple for the bindings, I’ve ensured that no tropical hardwoods will be used on this particular instrument. Looks good too!


Labels: ,

Wednesday, March 16, 2022

Twin-Point completed

The twin-point mandolin has now been completed and is safely residing with its new owner. I’m really pleased with all aspects of it and below is a video and some photos for you to see.

Over the years (like most woodworkers) I’ve built up a stash of wood that I’ve saved for “something special” and this Claro walnut, that the back and sides are made from, was from that stash: I’m very happy that this mandolin justifies its use!

Labels:

Sunday, August 29, 2021

Twin-Point, Flat-Top Rosette

 What with all the arch-tops and e-mandos that I’ve been building recently, I’ve not had the need to make a rosette, as there hasn’t been a sound hole to put it around! I’ve always enjoyed making rosettes so I’ve really been looking forward to making one for the new twin-point and here it is……..

And how I did it!.......

Labels: , ,

Monday, July 12, 2021

Archtop #5: Fretboard

The carbon fibre’s epoxied in and then the fretboard glued on.

I always sand the fretboard flat and then sand the compound radius (the white pencil marks act as a quick visual guide when checking progress). I was taught that a craftsman should always use edge tools and that sanding or filing was somehow a substandard practise. But when you’re working to very tight tolerances, on an unforgiving species of wood and seeking a perfect surface, abrasives are the best solution!
With the fretboard finished, the dots (black Tahiti pearl) can go in. The black pearl is very subtle and, in some lights, the dots appear to disappear! Not a problem as I put markers down the edge of the ‘board and I’m sure most players would agree that side markers are of much more use than the dots on the front surface. And then we’re on to the frets……….
Now the frets have been dressed, the neck finally gets carved.............

Labels:

Tuesday, June 29, 2021

Archtop Mandolin #5: Purfling, Binding

So, the purflings and bindings slowly go on, layer by layer……..

Until!

Labels: , ,